Bell HomeHub 4000 (Giga Hub) PPPoE with pfSense
Bell Canada has done an impressive rollout of Fiber in most of Southeastern Ontario. After moving to Ottawa, Bell provided me with a free upgrade from the HomeHub 3000 to the Homehub 4000 (a.k.a. the Giga Hub), which comes with Wifi 6 and a 10Gbe RJ45 port.
My existing Homelab setup didn’t make use of the HomeHub 3000. Instead the Gigabit Interface Converter (GBIC) module that would normally be plugged into the HomeHub was connected to a TP-Link Gigabit SFP to RJ45 media converter. This was then plugged into a trunk port on my core switch which allowed VLAN 35 (the Internet VLAN used by Bell).
pfSense was then connected to the switch, and the WAN port was configured for PPPoE on VLAN 35. Specifically, pfSense was running in a VM on a server running Proxmox. The network interface for the VM was tagged with VLAN 35, then PPPoE was configured on the WAN port in pfSense.
Why Use the Giga Hub?
I decided to change this. The Giga Hub, with its Wifi 6 capabilities, provided better Wifi across the house (even to my office on the top floor while sitting on top of the rack in the basement) than my existing Unifi UAP-AC-LITE. I wanted to take advantage of this but that required I take a different approach because I had to leave the Fiber line connected to the Giga Hub.
After some research Googling, I found that the Giga Hub supports a type of “bridge mode”, where any device connected directly to one of the LAN ports on the Giaghub that uses PPPoE will get be able to authenticate with Bell and establish a WAN connection.
The Homelab Setup
In my setup, pfSense is running in a VM on a server running Proxmox.
To accomplish this I had to change two things, where the cable from the server connected to and remove the VLAN 35 tag from the VM interface.
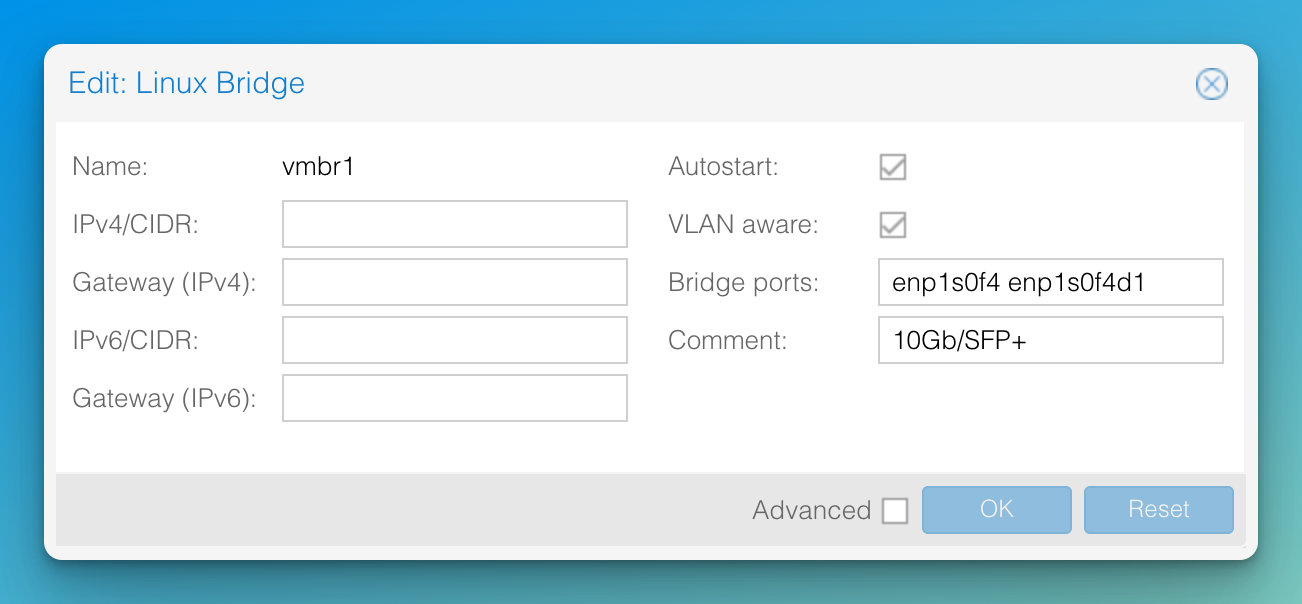
To take advantage of the 10Gbe ethernet port on the Giga Hub, I will be connecting it to the Chelsio 10Gb dual-port SFP+ card on my server, which will be referred to as vmbr1 (the virtual network bridge on Proxmox that is configured with both ports). I only had 1Gb GBICs during the initial setup but I ended up buying a 10Gtek 10GBase-T SFP+ Transceiver for CAD$65 ($73.5 w/ tax) to make sure I could take full advantage of the Giga Hub or should I upgrade to 3Gb Fiber in the future.
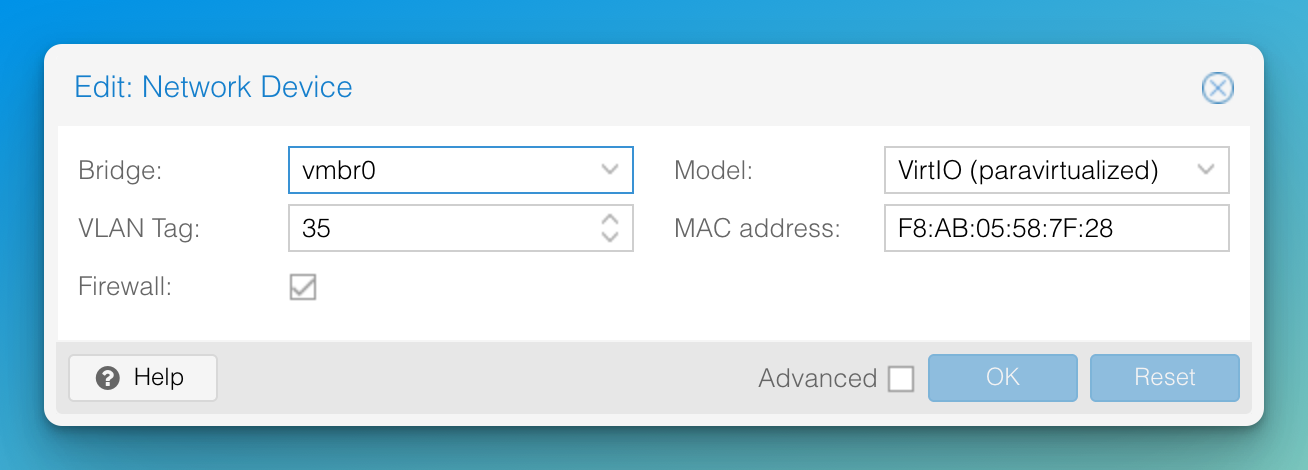
The previous NIC for the pfSense VM (shown above) was using the 1Gb network bridge (vmbr0) and set to VLAN tag 35. To make it easy to switch back and without it taking immediate effect on pfSense, I created a new NIC that was vmbr1 and on the native VLAN (i.e. had no VLAN tag). This resulted in a new device in pfSense, vnet2.
With that context, let’s move on to the step-by-step guide!
Connecting pfSense to the Bell HomeHub 4000 (Giga Hub)
The guide will cover the essentials for connecting pfSense to the Bell HomeHub 4000 (Giga Hub) for use as a WAN connection. This will not require any double-nat or a media converter. Only the Giga Hub and pfSense. I won’t cover any of the basic pfSense set up, I will assume you have gone through the initial setup, and have access to the pfSense UI (the webConfigurator).
-
Ensure your Bell HomeHub 4000 (Giga Hub) is powered on, online, and properly connected to your service (i.e. the internet). While connected directly to the Giga Hub, either via the Wifi or a LAN port, navigate to
https://192.168.2.1and enter the admin credentials. If you need the password, you can get it from the front of the device using the built-in screen.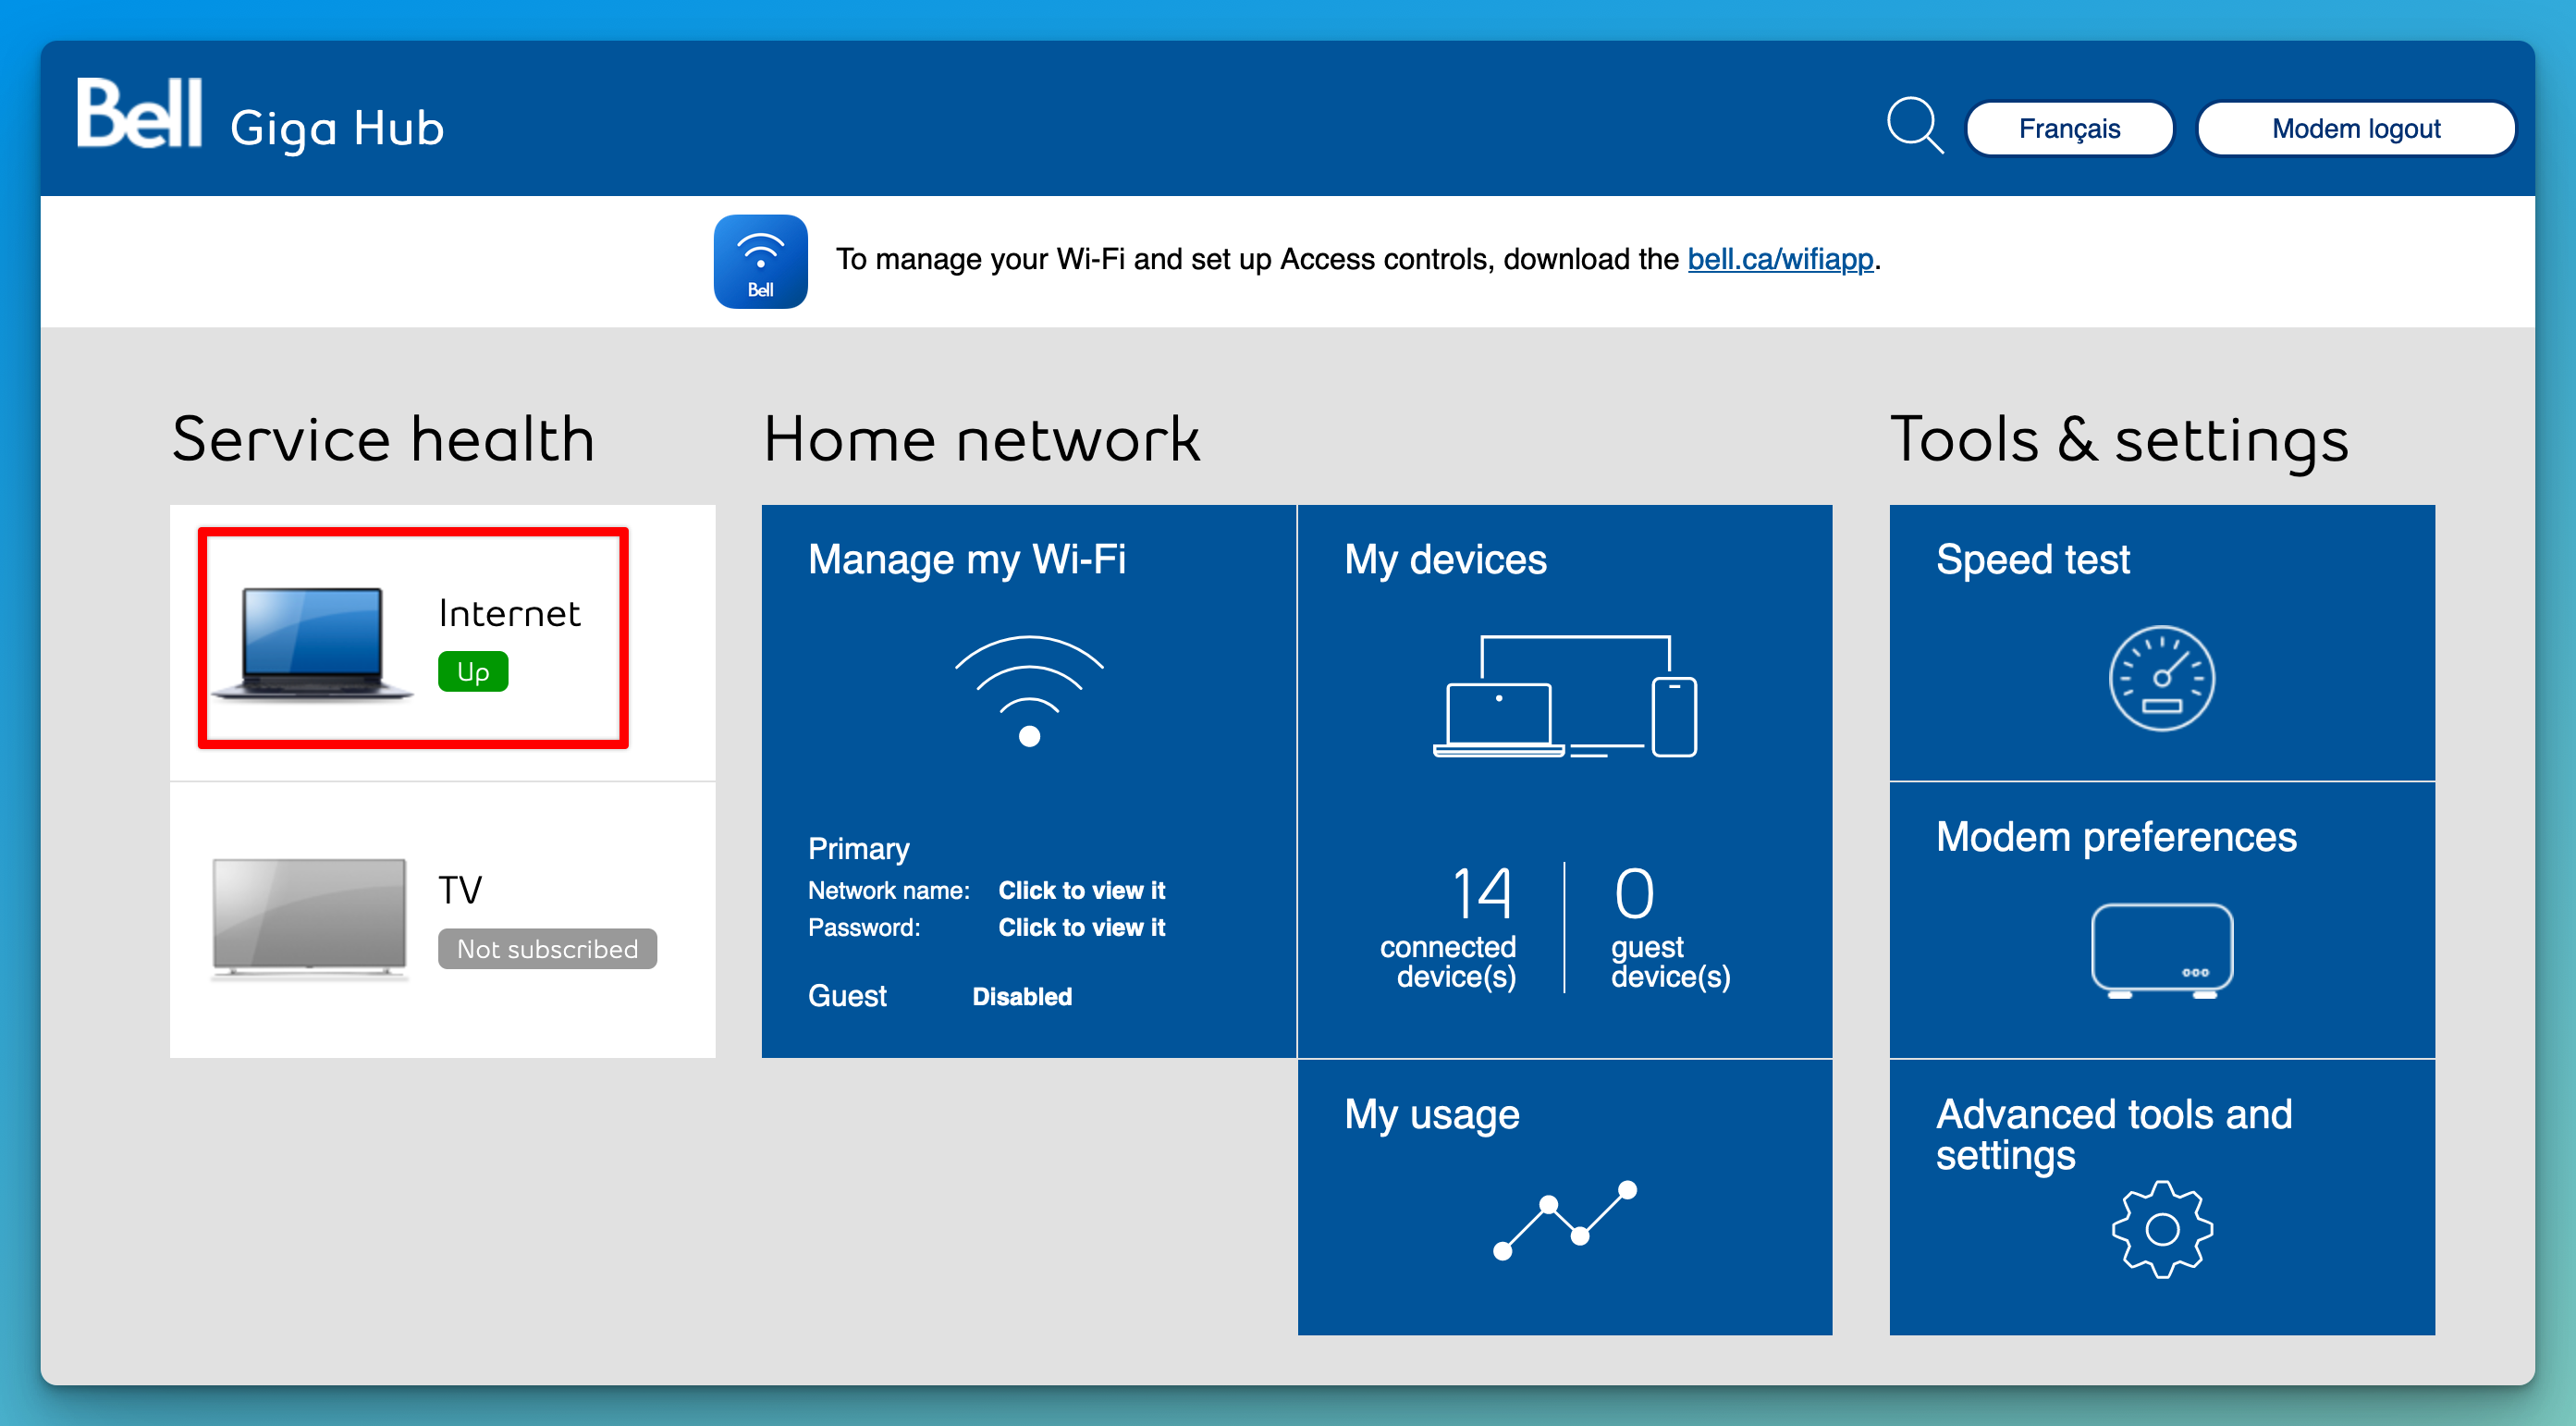
- Determine which port on your pfSense host you will use for your WAN connection.
-
You can find this on the Interfaces → WAN page.

-
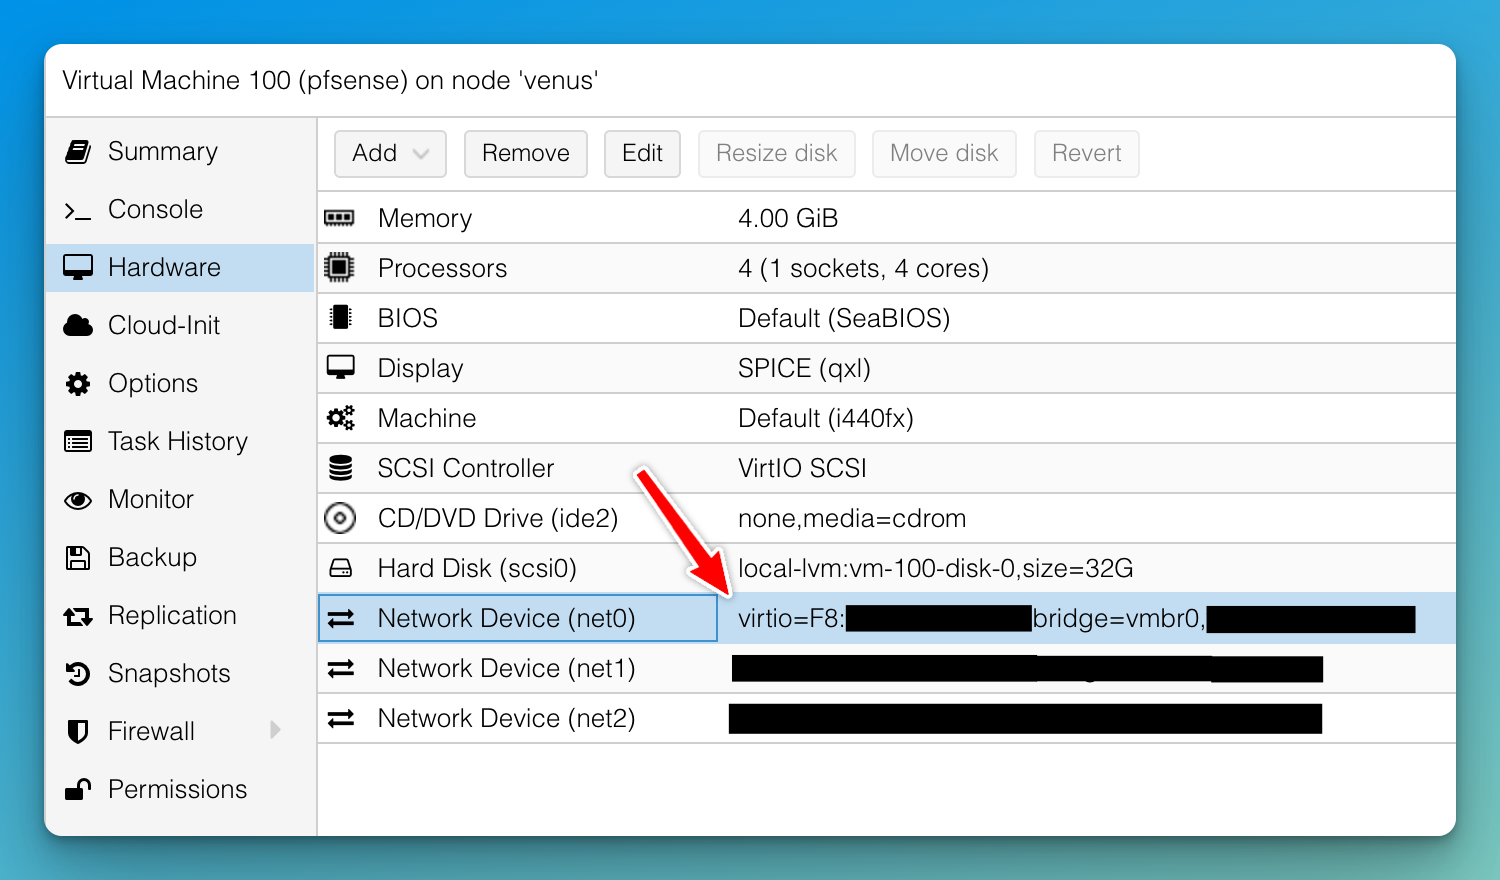
If pfSense is running in a VM, use the MAC address listed to the right of the interface name to align that with the interfaces listed on the host vm. For example, this is what it looks like in Proxmox.
Check which bridge is listed for the interface with the corresponding MAC address.
-
If you don’t have the WAN port assigned to a port, go to Interfaces → Interfaces Assignments and assign the desired interface to the WAN port.
-
-
-
Edit the WAN interface
-
Under General Configuration set IPv4 Configuration Type to
PPPoE.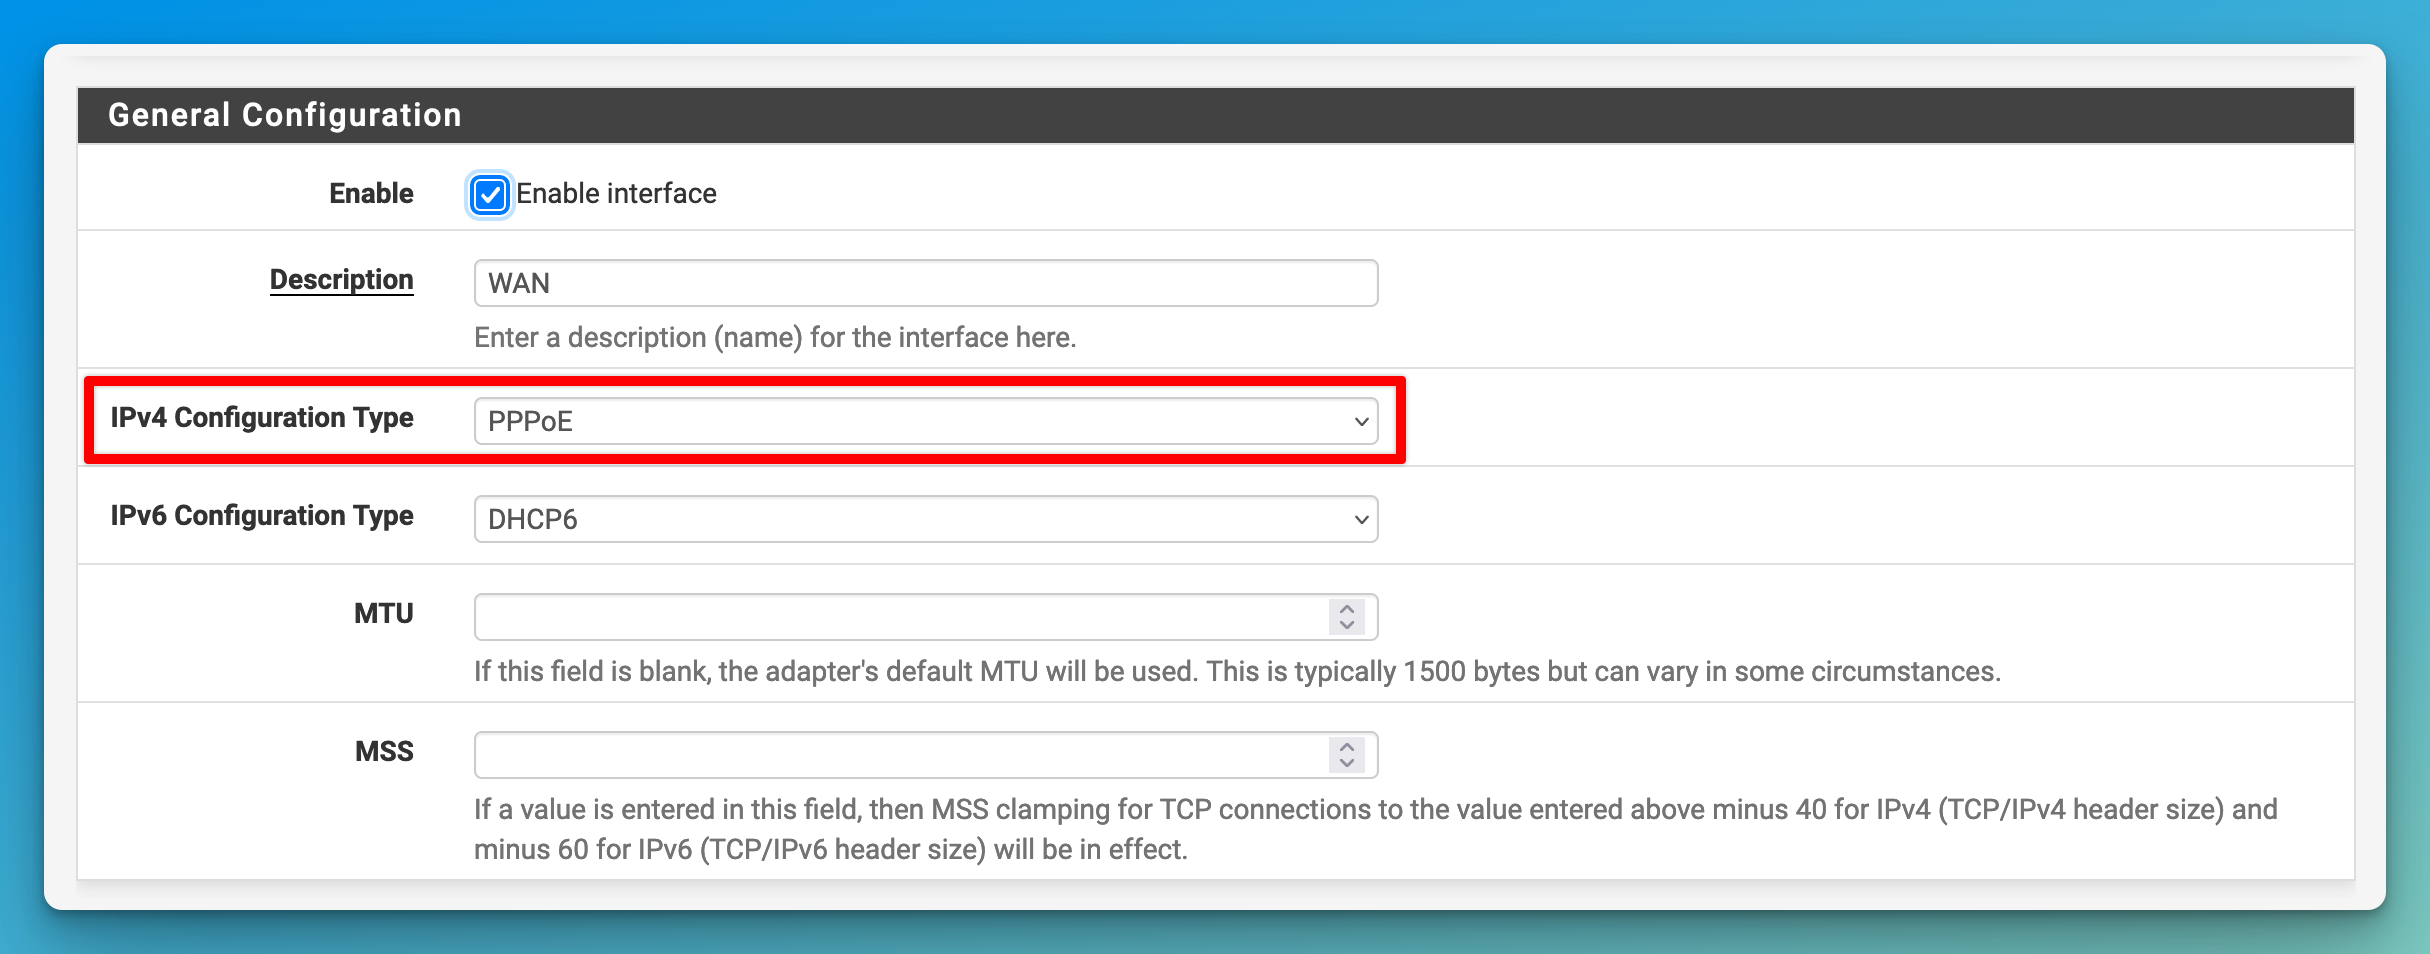
-
Optionally, set IPv6 Configuration Type to
None. I haven’t tested IPv6 in this setup, yet. - Under PPPoE Configuration, enter your Bell Internet PPPoE credentials into the Username and Password fields.
-
If you don’t know these credentials, check the box the Giga Hub came in and look for a sticker that should have it. Your other option is to go to https://mybell.bell.ca and find the “Manage Internet access password” option to reset this password.
The username is
b1xxxxxxxxalphanumeric user ID for your internet service.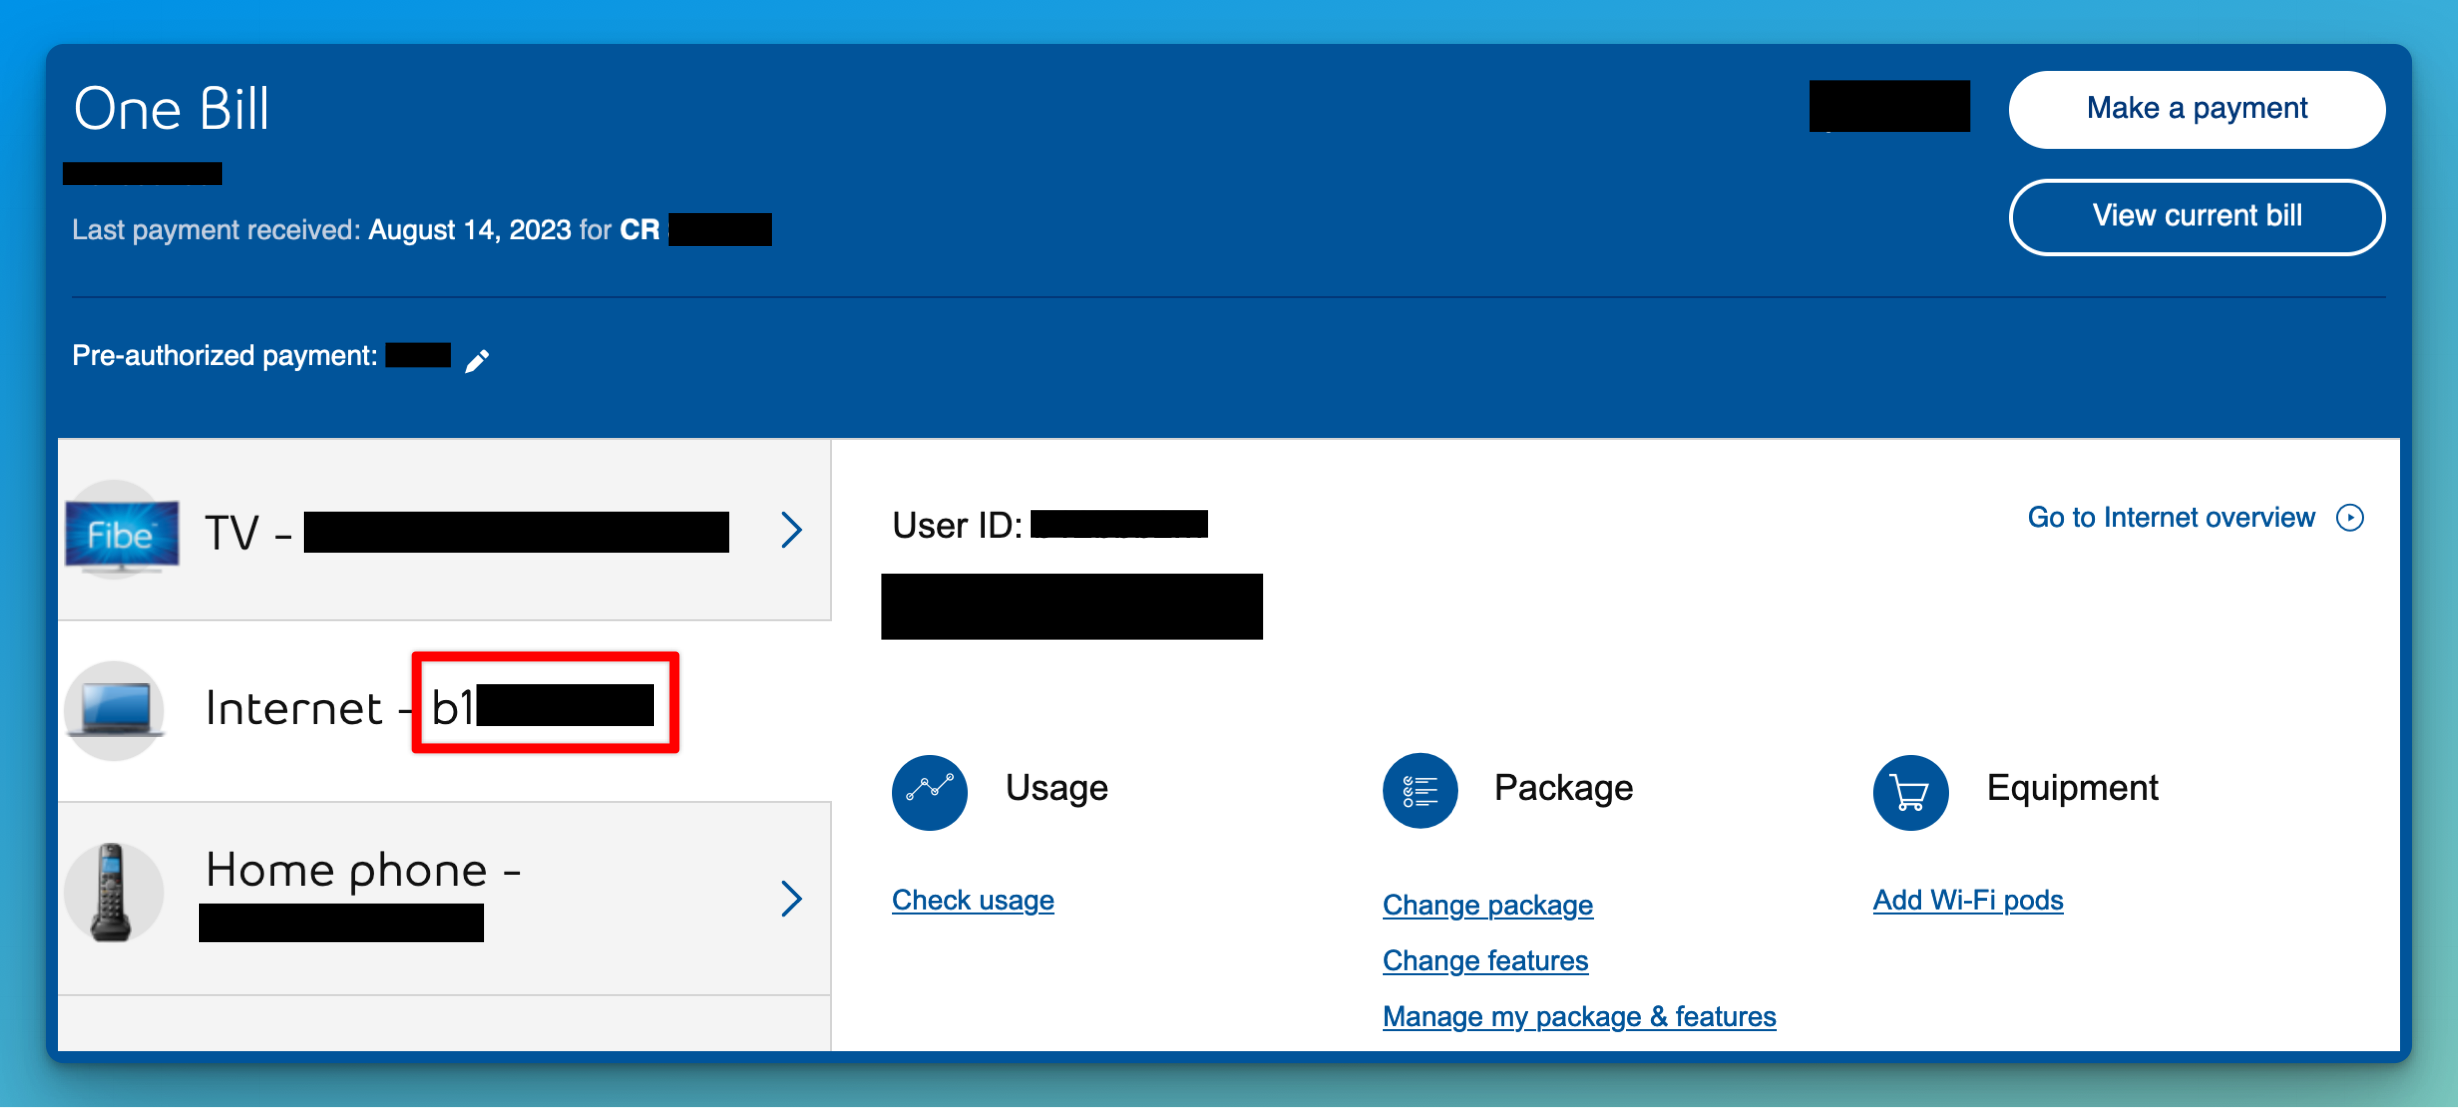
-
- Click Save at the bottom of the page.
-
-
Connect the WAN port on the pfSense host to any LAN port on the Giga Hub.
- If you have the 1.5Gb or 3Gb service from Bell and your pfSense host has a 10Gb port it’s recommended to use that for the WAN port. Also, this would allow you to fully saturate a 1Gb fibre connection and a connection to another LAN device on the Giga Hub at the same time.
-
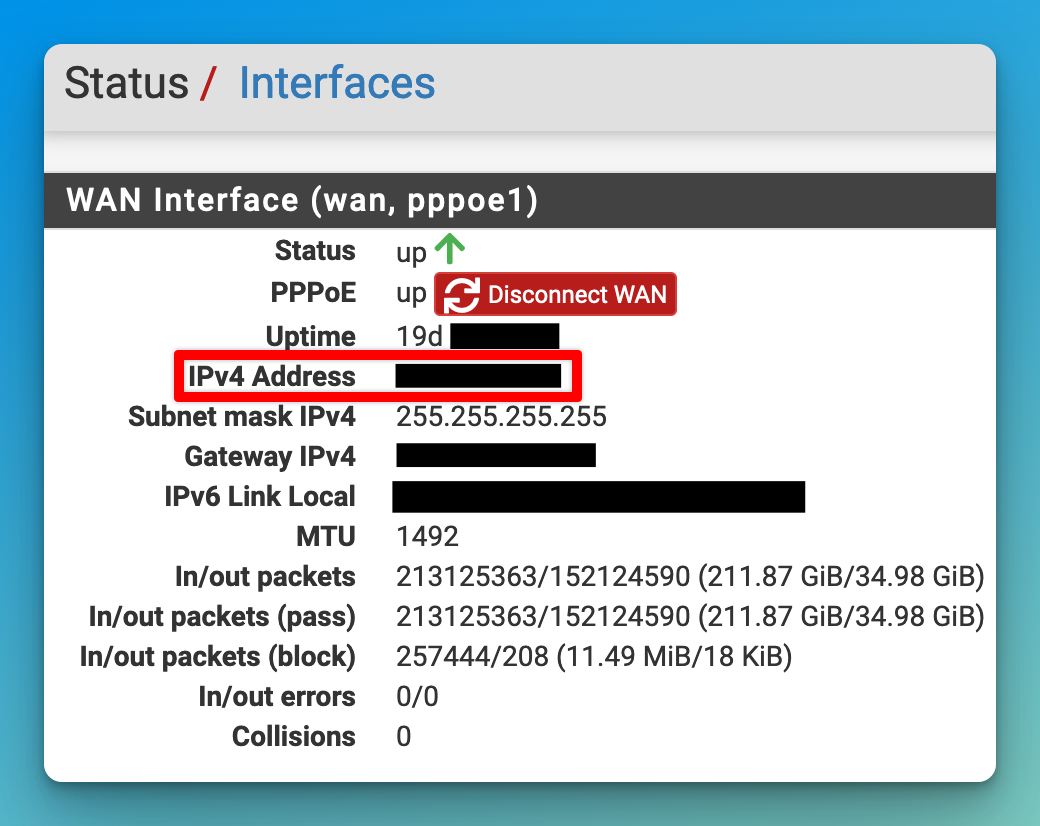
Go to Status → Interfaces in pfSense, you should see the WAN interface with Status and PPPoE up.
-
If the status is down, check that the light on the 10Gb interface of the Giga Hub is blinking showing that traffic flowing.
-
If PPPoE is down, this is likely an issue with the credentials used.
-
Speedtest
I recommend taking a speed test from the Giga Hub (using the built in speed test) and then from pfSense (using the Speedtest CLI) to see what the impact is on your speeds.
In my setup, it’s a loss of about 100Mbp/s on the download. I can’t tell what the cause is; overhead from the Proxmox host, Bell providing optimistic results, or overhead from the Giga Hub. A future topic for me should be to try connecting the Fiber line directly to the server running pfSense and see what the impact of removing the Giga Hub is.
Though I have heard from others that they lost over 50% of their speed when switching to pfSense. If you experience it, know that this could happen for a number of reasons. Check how stressed the CPU is on your pfSense host during a speed test. Try a different cable.
